3linker manual презентация
Содержание
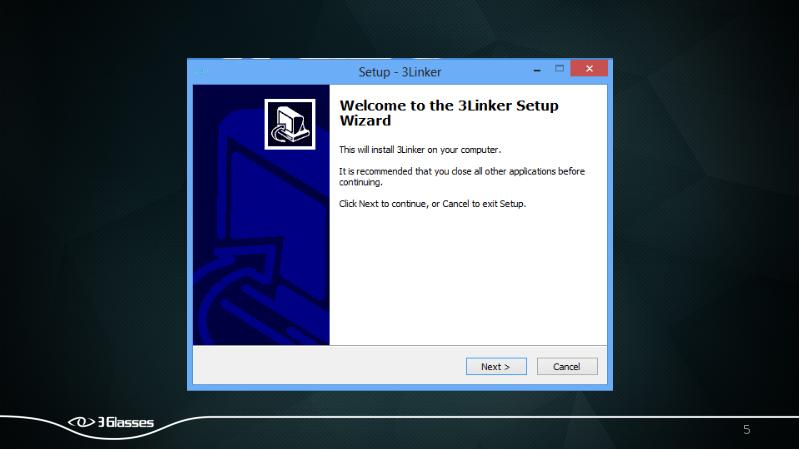
- 4. 1.1 Double click your installation file
- 7. 1.2 Choose necessary components The installation program will choose
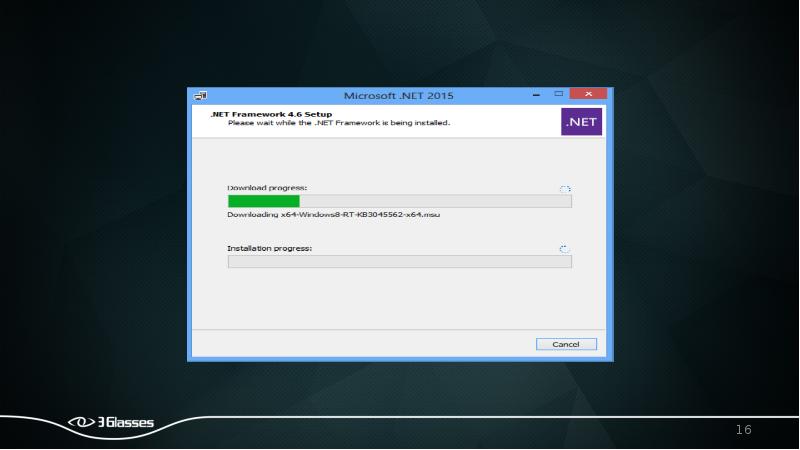
- 14. Installing .net framework runtime
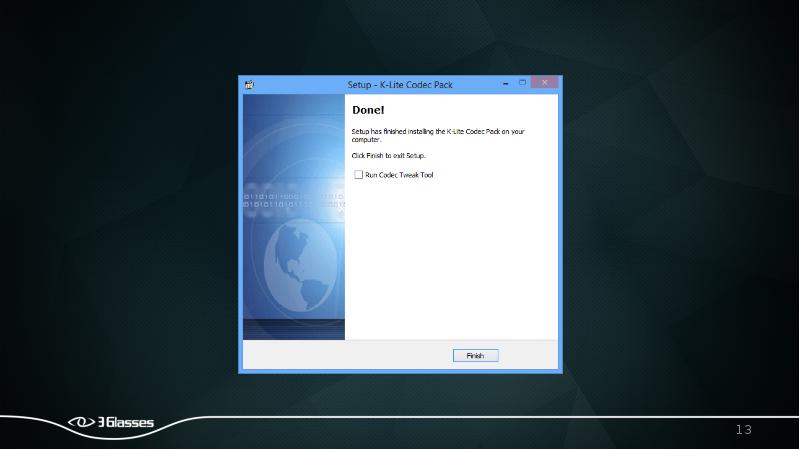
- 18. 1.3 Finish your installation
- 20. 2. Launch 3Linker
- 21. 2.2 Check your device If no 3glasses device installed, 3Linker
- 22. Else, you will see the device info as the right image(Some
- 23. If the orientation of screen in your glasses is not in
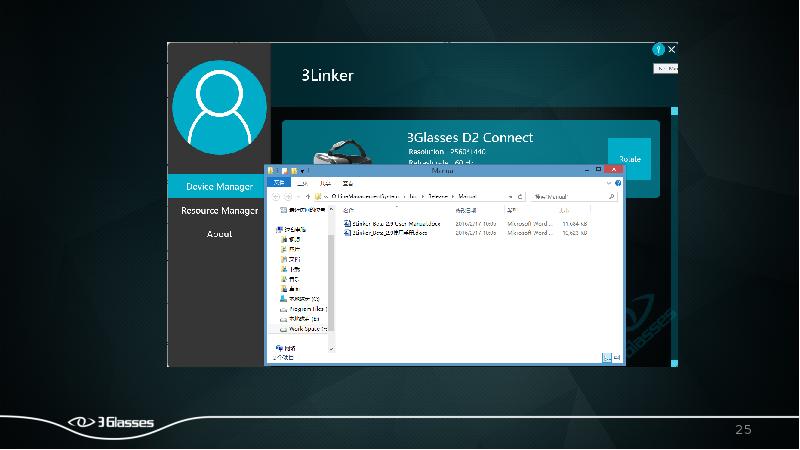
- 24. If you want to check this manual, you can click the
- 26. 2.3 Update your firmware When the version of your inserted device
- 27. Click yes to update your firmware
- 28. This image shows the updating status
- 29. When update successes, you will see the new firmware
- 30. 2.4 Ukey Management 2.4.1 UI when uKey inserted
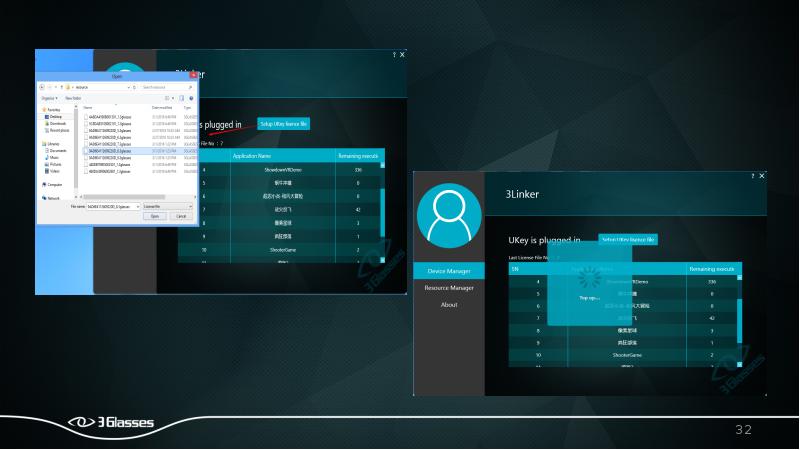
- 31. 2.4.2 Recharge your ukey with license file Click “Details” button on
- 33. The license file contains the information of the apps and their
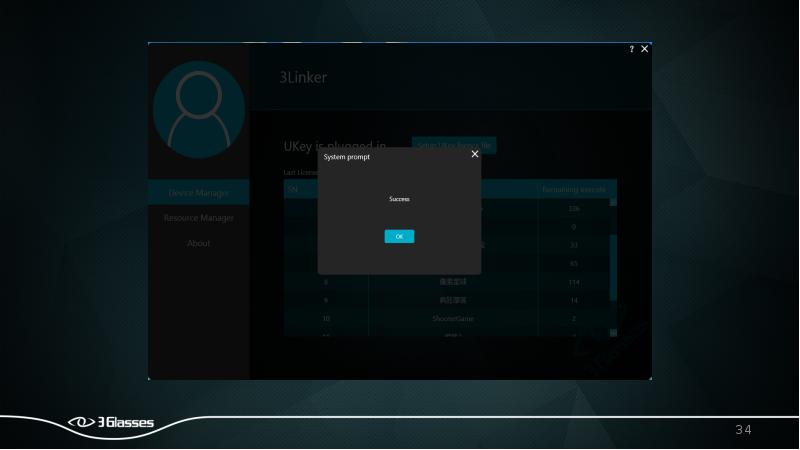
- 35. If you recharge your ukey successful, then you will see the
- 36. 2.4.2 Failed to recharge your ukey If you are using a
- 37. If the license id not match your ukey, then you will
- 39. 3 Manage your video resource 3.1 Add new video resource
- 40. Then browse the file to add. Remember to set the video
- 41. You can also drag and drop a video from your local
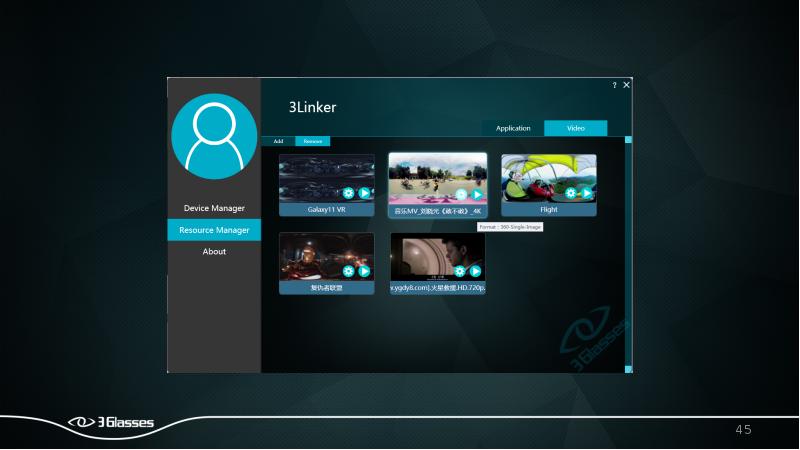
- 42. When you add your video successfully, you will see a preview
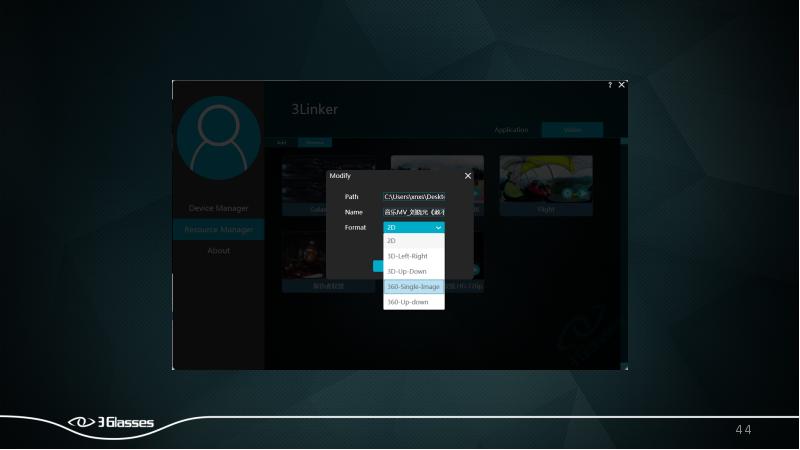
- 43. 2.3.2 Change the play mode
- 46. 2.3.3 Play your video Click the play button of your video
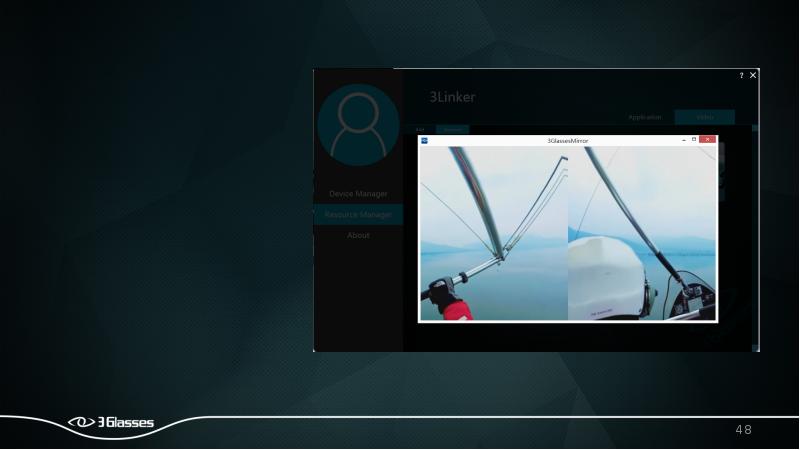
- 47. During the playing, you can click the Open Mirror button to
- 49. Click the Quit Play button to exit the player, and click
- 50. 2.3.4 Delete video resource :
- 51. When the resource path modified unfortunately, then the preview icon of
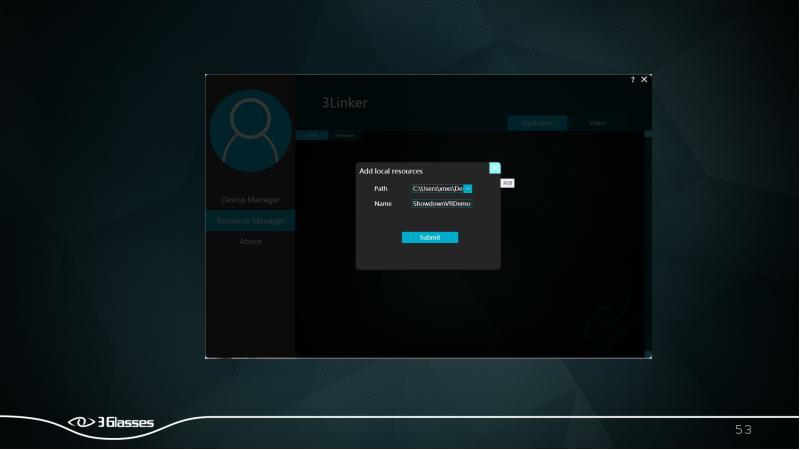
- 52. 2.4 Manage your apps 2.4.1 Add resource Click the
- 54. You can also drag an “.exe” file to the Resource Manager
- 55. You will see an icon of you application when you add
- 56. 2.4.2 Play your app Just lick the play button on
- 57. You can also open the mirror to see the screen of
- 59. Click Quit play to exit your app. Click Close Mirror to
- 60. 2.4.3 Delete an app Click the Remove button on the
- 61. When the file path of your app modified externally, then you
- 63. 3. Check updates of 3Linker You can click the Check updates
- 64. When there is a new version, a download page will be
- 65. When there is no updates, a warning window will be shown
- 67. Скачать презентацию


Слайды и текст этой презентации
Слайд 1
Описание слайда:
Слайд 2
Описание слайда:
Слайд 3
Описание слайда:
Слайд 4
Описание слайда:
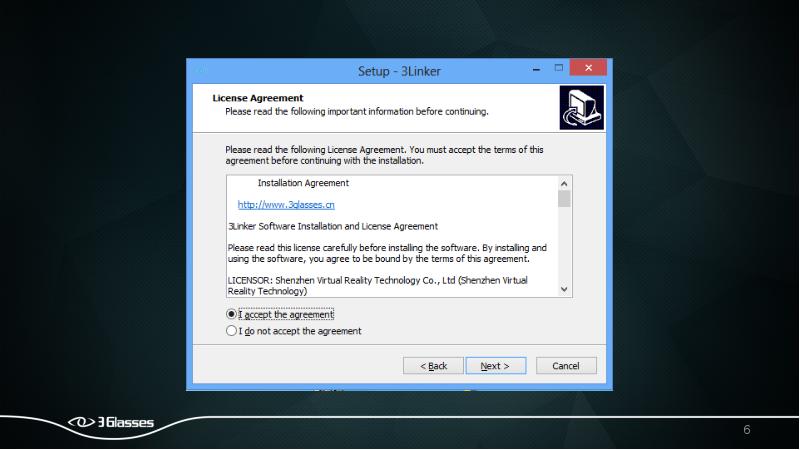
1.1 Double click your installation file
Слайд 5
Описание слайда:
Слайд 6
Описание слайда:
Слайд 7
Описание слайда:
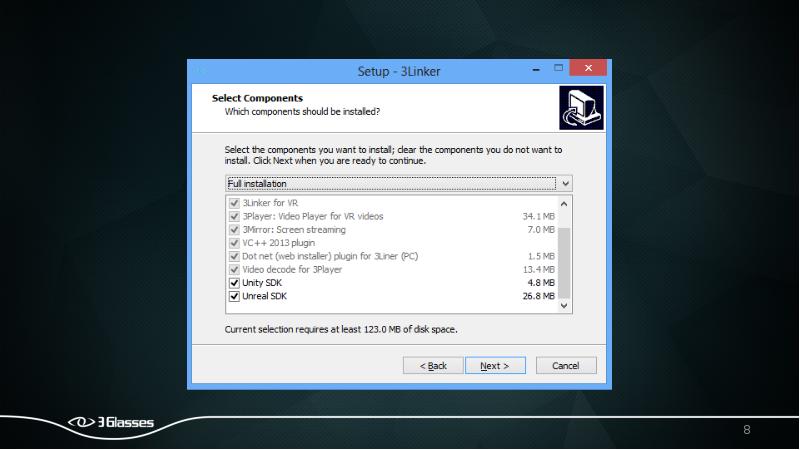
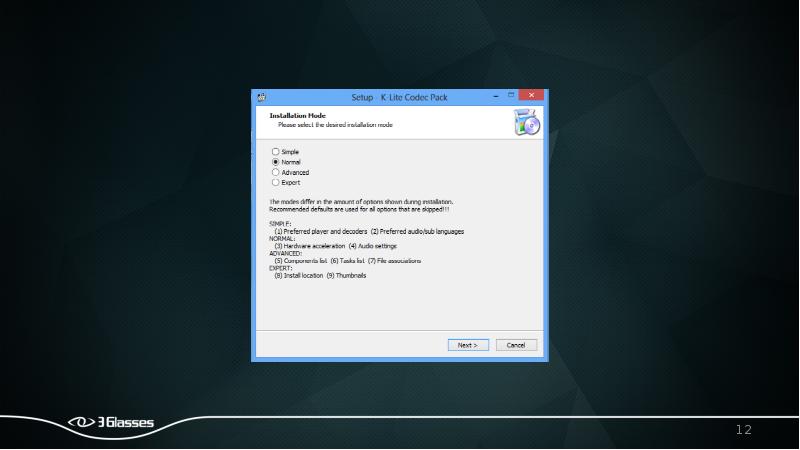
1.2 Choose necessary components
The installation program will choose the necessary components depending on your PC environment, including:
VC++2013 runtime
.net framework 4.6 runtime
DirectX 9.0c runtime
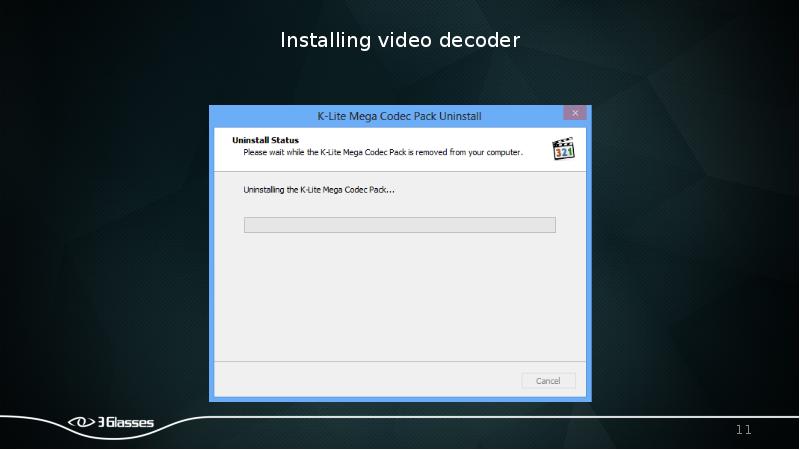
K-lite decoder
If one component is already installed in your PC, it will not be installed again
Слайд 8
Описание слайда:
Слайд 9
Описание слайда:
Слайд 10
Описание слайда:
Слайд 11
Описание слайда:
Слайд 12
Описание слайда:
Слайд 13
Описание слайда:
Слайд 14
Описание слайда:
Installing .net framework runtime
Слайд 15
Описание слайда:
Слайд 16
Описание слайда:
Слайд 17
Описание слайда:
Слайд 18
Описание слайда:
1.3 Finish your installation
Слайд 19
Описание слайда:
Слайд 20
Описание слайда:
2. Launch 3Linker
Слайд 21
Описание слайда:
2.2 Check your device
If no 3glasses device installed, 3Linker will be like the image on the right
Слайд 22
Описание слайда:
Else, you will see the device info as the right image(Some detailed information will be shown in the “About” page)
Else, you will see the device info as the right image(Some detailed information will be shown in the “About” page)
Слайд 23
Описание слайда:
If the orientation of screen in your glasses is not in a right direction , you can click the Rotate button on the Device Manager page
If the orientation of screen in your glasses is not in a right direction , you can click the Rotate button on the Device Manager page
Слайд 24
Описание слайда:
If you want to check this manual, you can click the “?” symbol on the top right of the window at anytime when you have problems
Слайд 25
Описание слайда:
Слайд 26
Описание слайда:
2.3 Update your firmware
When the version of your inserted device firmware, you will see the update firmware warnings
Слайд 27
Описание слайда:
Click yes to update your firmware
Слайд 28
Описание слайда:
This image shows the updating status
Слайд 29
Описание слайда:
When update successes, you will see the new firmware version on the “Device Manager” page
Слайд 30
Описание слайда:
2.4 Ukey Management
2.4.1 UI when uKey inserted
Слайд 31
Описание слайда:
2.4.2 Recharge your ukey with license file
Click “Details” button on your ukey, then choose the “Setup ukey license file”, then a window will be shown to choose your license file
Слайд 32
Описание слайда:
Слайд 33
Описание слайда:
The license file contains the information of the apps and their available times of play
Слайд 34
Описание слайда:
Слайд 35
Описание слайда:
If you recharge your ukey successful, then you will see the apps and their remaining execution counts in the ukey details page
Слайд 36
Описание слайда:
2.4.2 Failed to recharge your ukey
If you are using a license file that already been charged before, you will see a warning window as the right image
Слайд 37
Описание слайда:
If the license id not match your ukey, then you will see a warning window as the right image
Слайд 38
Описание слайда:
Слайд 39
Описание слайда:
3 Manage your video resource
3.1 Add new video resource
You can click the “Add” button on the Resource Manager page
Слайд 40
Описание слайда:
Then browse the file to add. Remember to set the video play mode
Слайд 41
Описание слайда:
You can also drag and drop a video from your local disk to the Resource Manger page
You can also drag and drop a video from your local disk to the Resource Manger page
Слайд 42
Описание слайда:
When you add your video successfully, you will see a preview image of your video in the Resource Manager page
When you add your video successfully, you will see a preview image of your video in the Resource Manager page
Слайд 43
Описание слайда:
2.3.2 Change the play mode
Слайд 44
Описание слайда:
Слайд 45
Описание слайда:
Слайд 46
Описание слайда:
2.3.3 Play your video
Click the play button of your video icon, then you can see your video in your glasses
Слайд 47
Описание слайда:
During the playing, you can click the Open Mirror button to run 3Mirror which copies the image in your glasses to your current desktop.
During the playing, you can click the Open Mirror button to run 3Mirror which copies the image in your glasses to your current desktop.
You can right click the copied image and uncheck the “fullscreen” label to exit the full screen mode of the copied image.
Слайд 48
Описание слайда:
Слайд 49
Описание слайда:
Click the Quit Play button to exit the player, and click the Close Mirror button to exit 3Mirror
Click the Quit Play button to exit the player, and click the Close Mirror button to exit 3Mirror
Слайд 50
Описание слайда:
2.3.4 Delete video resource :
Click the Remove button on the Resource Manager page and choose the resource to be deleted
Слайд 51
Описание слайда:
When the resource path modified unfortunately, then the preview icon of this vide will be set to a default warning image as the right image
When the resource path modified unfortunately, then the preview icon of this vide will be set to a default warning image as the right image
Слайд 52
Описание слайда:
2.4 Manage your apps
2.4.1 Add resource
Click the Add button on the Application subpage of the Resource Manager page, then browse the file to add
Слайд 53
Описание слайда:
Слайд 54
Описание слайда:
You can also drag an “.exe” file to the Resource Manager page to add this resource
Слайд 55
Описание слайда:
You will see an icon of you application when you add your app successfully as the right image
You will see an icon of you application when you add your app successfully as the right image
Слайд 56
Описание слайда:
2.4.2 Play your app
Just lick the play button on the added resource to run you app in your glasses
Слайд 57
Описание слайда:
You can also open the mirror to see the screen of your glasses on your current desktop
You can also open the mirror to see the screen of your glasses on your current desktop
Слайд 58
Описание слайда:
Слайд 59
Описание слайда:
Click Quit play to exit your app. Click Close Mirror to exit the 3Mirror
Click Quit play to exit your app. Click Close Mirror to exit the 3Mirror
Слайд 60
Описание слайда:
2.4.3 Delete an app
Click the Remove button on the Application subpage of the Resource Manager page,then choose the app to be deleted on clicking the cross
Слайд 61
Описание слайда:
When the file path of your app modified externally, then you will not see the icon of you app but a default warning image
When the file path of your app modified externally, then you will not see the icon of you app but a default warning image
Слайд 62
Описание слайда:
Слайд 63
Описание слайда:
3. Check updates of 3Linker
You can click the Check updates button on the About page to check the new version of 3Linker
Слайд 64
Описание слайда:
When there is a new version, a download page will be opened automatically
When there is a new version, a download page will be opened automatically
Слайд 65
Описание слайда:
When there is no updates, a warning window will be shown as the right image
When there is no updates, a warning window will be shown as the right image
Слайд 66
Описание слайда:
Скачать презентацию на тему 3linker manual можно ниже: