The creating a graphical object c# презентация
Содержание
- 2. Pen Pen The pens are used for graphical figures drawing. The
- 3. The pens that are not templates The pens that are not
- 4. Brush Brush A brush is used to flood graphical figures. There
- 5. The simple brushes are selected from Brushes class: The simple brushes
- 6. The brush for hatching may be selected from HatchBrushes class. For
- 7. An example of hatching by CROSS style: An example of hatching
- 8. The method for drawing a text in Windows Form The method
- 9. The drawing of rectangles The drawing of rectangles DrawRectangle(pen, int x1,
- 10. The example of graphics program The example of graphics program There
- 15. It’s necessary to create a Handler for button1. It’s necessary to
- 17. You are going to use DashStyle for pen and HatchBrush. So
- 18. using System; using System; using System.Collections.Generic; using System.ComponentModel; using System.Data; using
- 21. Now do the next task: Now do the next task:
- 22. Скачать презентацию
;")


Слайды и текст этой презентации
Слайд 1
Описание слайда:
Graphics
Graphics
The creating a graphical object
Syntax:
Graphics g=Graphics.FromHwnd(this.Handle);
Graphics –an object type where we'll draw.
It may be Windows Form.
g –name of graphical object;
Graphics.FromHwnd(this.Handle) – class method that returns a Handle to Windows Form.
Слайд 2
Описание слайда:
Pen
Pen
The pens are used for graphical figures drawing.
The templates pens:
Pen pen1 = Pens.Black;
Here:
Pen – class “Pen”;
pen1 – name of class Pen object;
Pens – class of pen objects. We select a pen from this class;
Black – a colour of pen that is selected.
In this case you can select only a colour.
A line width equal to one pixel.
A Line style is continuous line.
Слайд 3
Описание слайда:
The pens that are not templates
The pens that are not templates
Their properties may be set up.
Pen pen2 = new Pen(Color.Red);
pen2.Width=3;
A choice of line style:
Styles: Dot, Dash, DashDot, DashDotDot.
An example to set up line style:
pen2.DashStyle=
System.Drawing.Drawing2D.DashStyle.DashDotDot;
Слайд 4
Описание слайда:
Brush
Brush
A brush is used to flood graphical figures.
There are some brush types:
Brush – it’s simple brush to flood by one colour;
HatchBrush - to hatch;
LinearGradientBrush - a brush with linear gradient filling up;
PathGradientBrush - a brush with linear gradient in case a colour changes by jumps.
Слайд 5
Описание слайда:
The simple brushes are selected from Brushes class:
The simple brushes are selected from Brushes class:
Brush brush1=Brushes.Blue;
Brush – class name;
brush1 – object name;
Brushes –class of objects for selecting the brush;
Blue –brush colour.
In this case you can select only a colour.
Слайд 6
Описание слайда:
The brush for hatching may be selected from HatchBrushes class. For accessing to HatchBrushes class and to styles of hatching it's necessary to add:
The brush for hatching may be selected from HatchBrushes class. For accessing to HatchBrushes class and to styles of hatching it's necessary to add:
using System.Drawing.Drawing2D;
Styles of hatching:
CROSS, DiagonalCross, ForwardDiagonal, BackwardDiagonal.
Слайд 7
Описание слайда:
An example of hatching by CROSS style:
An example of hatching by CROSS style:
HatchBrush brush2 = new HatchBrush(HatchStyle.Cross,ForeColor, BackColor);
It's possible to create a pen that draws by brush:
Brush brush1=Brushes.Blue;
Pen pen1=new Pen(brush1);
Слайд 8
Описание слайда:
The method for drawing a text in Windows Form
The method for drawing a text in Windows Form
DrawString(S, Font, Brush, float xleftTop,
float yLeftTop);
S- row of symbols;
The Font class is used for selecting font;
float xleftTop, float yLeftTop - the coordinates x, y of left upper corner of rectangle that is used for placing the text. These coordinates are defined by identifiers.
Brush brush1=Brushes.Red;
float a=100,b=200;
Font myFont=new Font(“Tahoma",14);
g .DrawString("You are\n welcome!", myFont, brush1, a, b);
Слайд 9
Описание слайда:
The drawing of rectangles
The drawing of rectangles
DrawRectangle(pen, int x1, int y1, int x2, int y2);
x1, y1, x2, y2 –the coordinates of left upper corner and right bottom corner of rectangle.
Example:
g.DrawRectangle(pen1,50,50,100,100);
There is a variant with float type coordinates .
DrawRectangle(pen, float xLeft, float yTop, float Height, float Width);
xLeft, yTop- the coordinates x, y of left upper corner.
Height, Width - height and width of rectangle.
Слайд 10
Описание слайда:
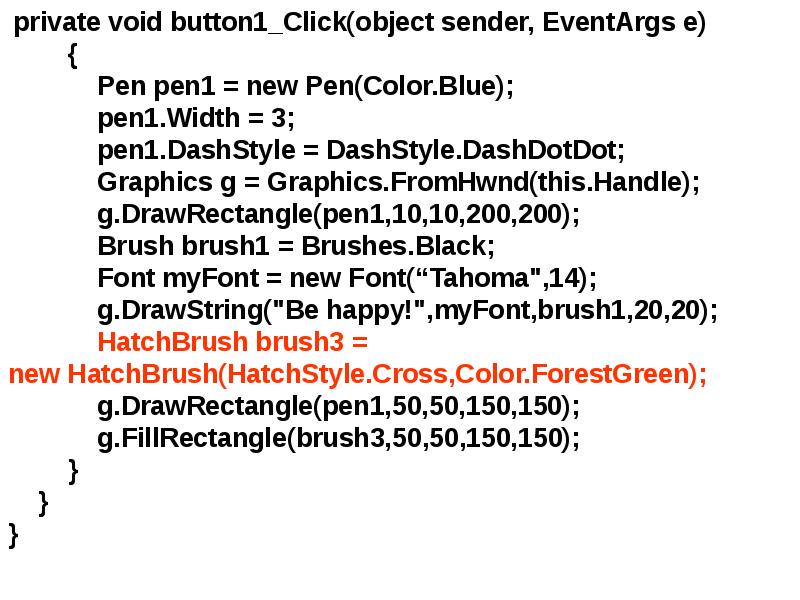
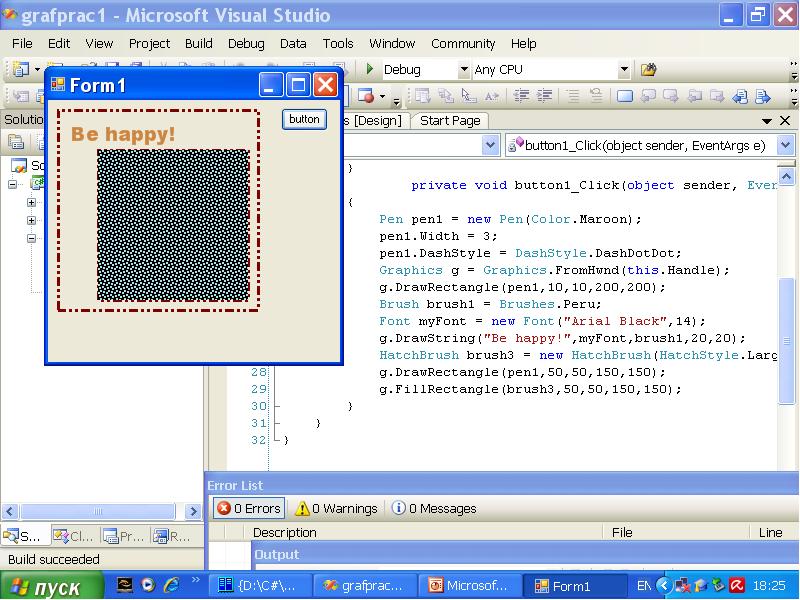
The example of graphics program
The example of graphics program
There is a choice of pen and its parameters: Color, Width and Line style. Also a font is set and used to display a symbols string.
Besides of there is HatchBrush that is used to fill a rectangle.
Слайд 11
Описание слайда:
Слайд 12
Описание слайда:
Слайд 13
Описание слайда:
Слайд 14
Описание слайда:
Слайд 15
Описание слайда:
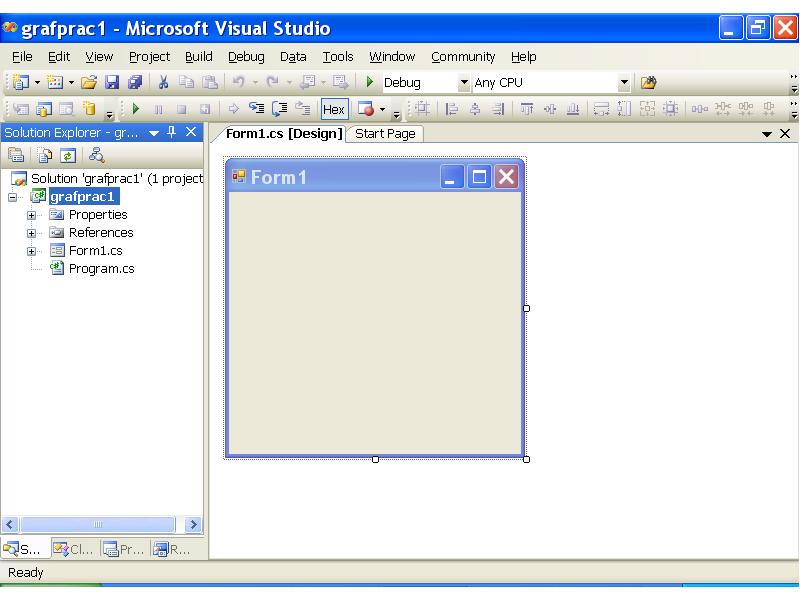
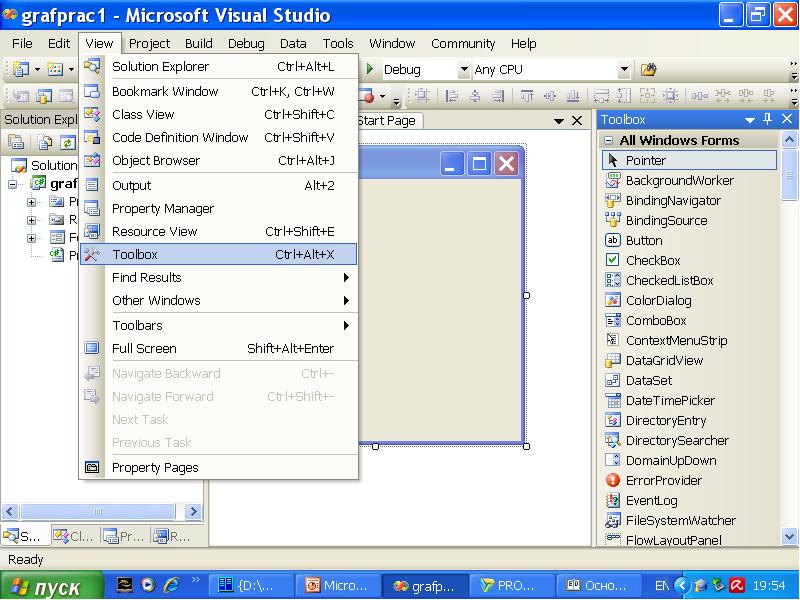
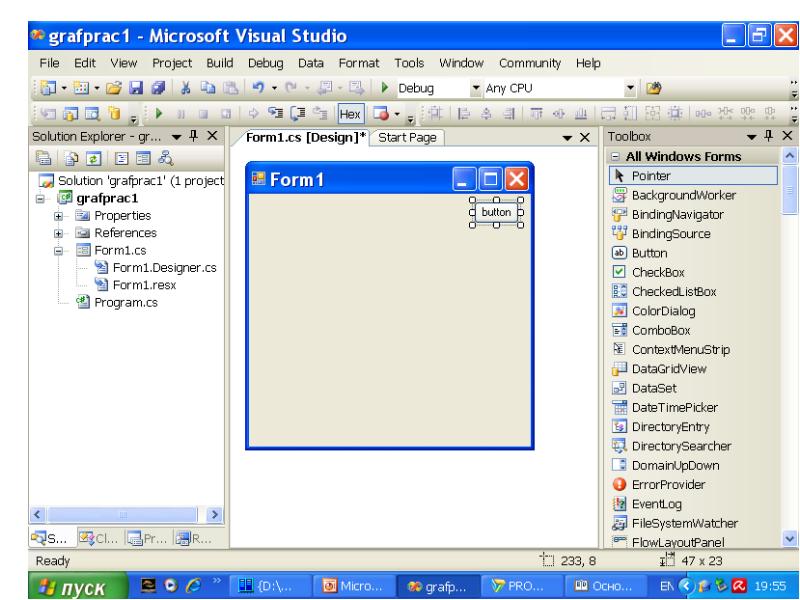
It’s necessary to create a Handler for button1.
It’s necessary to create a Handler for button1.
There are two modes how to do it:
1) Select button1/pop up menu/View Code;
2) To do double click on button1.
In any case a handler template will appear.
It must be filled
Слайд 16
Описание слайда:
Слайд 17
Описание слайда:
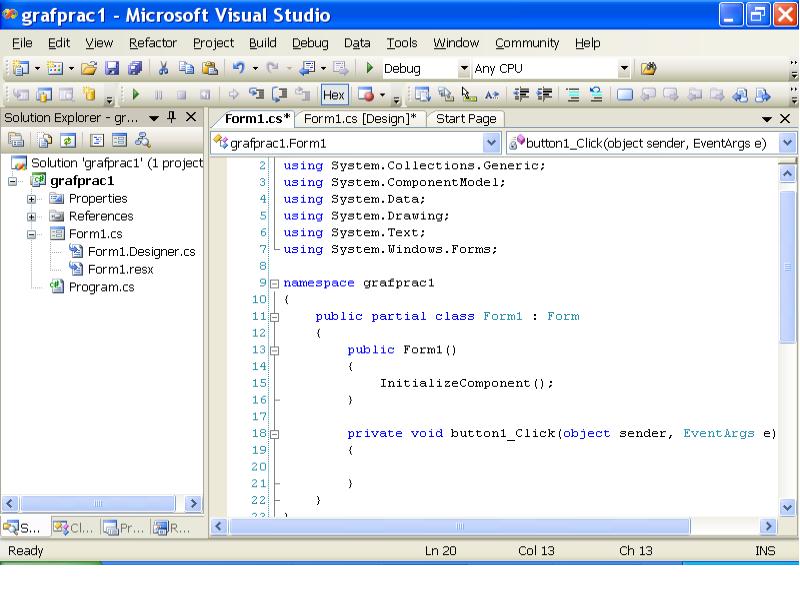
You are going to use DashStyle for pen and HatchBrush. So it's necessary to add using System.Drawing.Drawing2D; Don't forget!
You are going to use DashStyle for pen and HatchBrush. So it's necessary to add using System.Drawing.Drawing2D; Don't forget!
Слайд 18
Описание слайда:
using System;
using System;
using System.Collections.Generic;
using System.ComponentModel;
using System.Data;
using System.Drawing;
using System.Drawing.Drawing2D;// Don’t forget to add !
using System.Text;
using System.Windows.Forms;
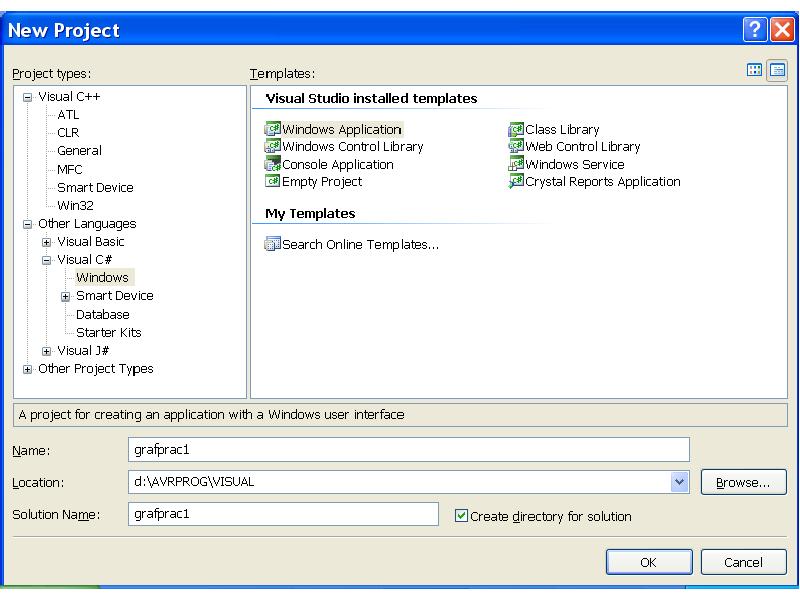
namespace grafprac1
{
public partial class Form1 : Form
{
public Form1()
{
InitializeComponent();
}
Слайд 19
Описание слайда:
Слайд 20
Описание слайда:
Слайд 21
Описание слайда:
Now do the next task:
Now do the next task:
Create a C# program using Windows Form. Place any text in this Form in any place. A brush is used for drawing. Its color is Blue. Font is " Tahoma". Its size equal 12.
Скачать презентацию на тему The creating a graphical object c# можно ниже: